Meshlab
<pageby nominor="false" comments="false"/>
Introduction
This is a little tutorial that covers first steps of using Meshlab for creating printable RapMan .STL files. We will cover aligning and merging of meshes (objects).
We may expand this sometimes later into a piece about real mesh merging and also mesh repair, simplification et.
Read also:
- RapMan (some tips about printing)
- Skeinforge for RapMan (detailed tips for g-code generation with skeinforge)
- Netfabb Studio tutorial
- Sketchup 3D printable objects tutorial
Notice:
- There is a simpler way for aligning .STL objects. Import to Meshlab, save as .3DS, then import to Google sketchup, then align there. However importing/export may alter the object.
- The most easy way to align and merge objects is to buy Netfabb studio Pro ....
Importing .dae and exporting to .stl
Some 3D modeling tools like google sketchup only can export to .DAE, the collada format, unless you install a so-called plugin. In order to import to skeinforge, you need an .STL.
to import .dae:
- File -> Import Mesh
(In older versions only, to import .dae:)
- File -> Open
You then could fix meshes and do other manipulations like changing size and position, but for beginners it's easier to use NetFabb for this. Therefore just save
To export as .stl:
- File -> Export Mesh as
In old versions:
- File -> Save As
Merging layers
Now let's assume that you have two or more objects that you would like to merge, i.e. in the simple sense of "aligned". "Mesh merging" would be a procedure that is much more difficult and we may cover it later. Also, aligning objects with a tool like Google sketchup is much simpler.
In the most simple case, objects already are in the right position, e.g. you positioned each object you made in the right x/y/z position using a tool like Netfabb or sketchup.
According to the Layer Management Meshlab wiki page:
- You can add an external mesh to a new layer by going in File > Open As New
Layer.
- Then open the layers tool. Click on the 5th icon from the left and that looks a like a pile of paper (or layers).
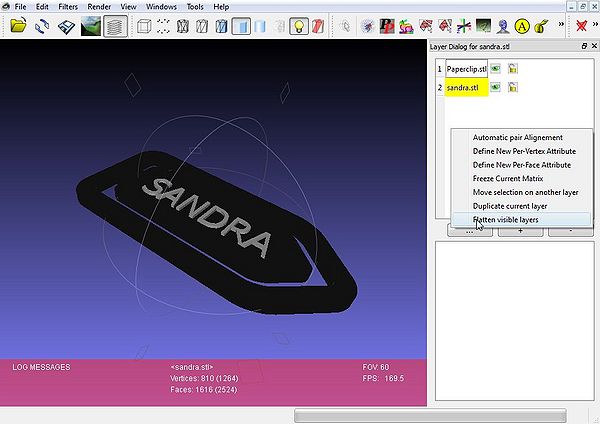
- Either right-click on the layer box that will popup, or go in Filters > Layers Management. Then flatten your layers, click on Flatten visible Layers The options are explicit.
- Then File->Save as
- Again, you could import to Netfabb again for repair or directly import to skeinforge, depends how much you trust your STL files. When you export from sketchup to .DAE, repair is mandatory I believe.
Example - paper clip with a name
(1) Get the paper clip from Thingyverse
(2) Create a 3D Text Then, for creating the text we played with two options (pick either one):
(2a) Create a 3D text with Google Sketchup and save as .DAE (collada), then transform to .STL with Meshlab
(2b) Create a 3D text with netfabb (click on the second icon from the left)
For both options, size doesn't really matter, but it's easier to create something in the 1 to 10 cm range and about 2mm high.
However, the kind of chosen font does matter. Pick a regular bold font. In addition (if you have the patience, you should explode the text group and space out the letters. The RapMan has trouble printing narrow fonts or letters that are too close !
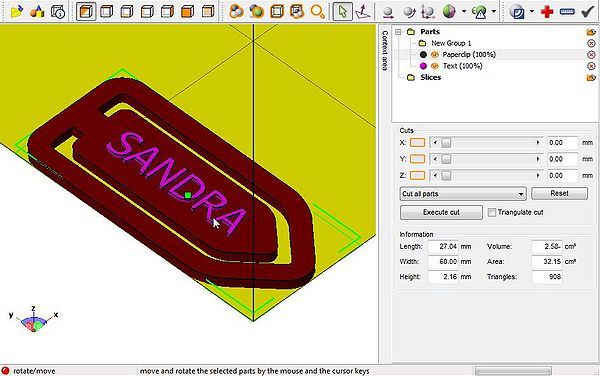
(3) Align and resize with netfab
Procedure:
- Load both models in netfabb
- Make the Paperclip size correct, e.g. use Menu: Part->Scale (or click on the icon). I made the paper clip a bit bigger and about 2mm high (Z-axis).
- Then rotate the letters, resize and approximatly position, etc.
- Then (important) position the paperclip at origin (Menu: Part->Move to origin). Verify by clicking the "information" icon
- Then position the letters on top. E.g. if height of the paperclip is 2.2mm, position it at z=2.2mm
- Then look at the object from top and move the text into final position
- Finally, export both files as STL, e.g. clip.stl and name.stl
Disclaimer: I didn't see any merge function in the free version of netfabb... but maybe I was to stupid to find it.
(4) Merge with Meshlab as explained above
- Import the paperclip
- Import the text as layer
- Flatten the layers
- Export as new STL (file: nameclip.stl)
(5) Repair the final STL with netfab
- Import nameclip.stl to netfabb
- Repair by clicking on the red + sign (I just used default repair). Apply the repairs.
- Export part as .STL
(6) Print
- Import to skeinforge
- Print ...
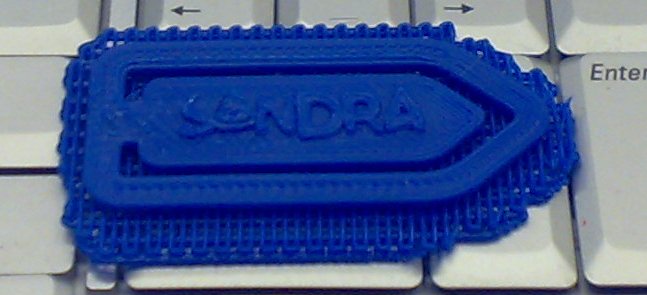
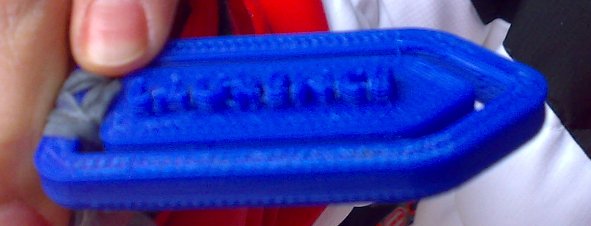
Here is a first result. No so good, since I used an inappropriate font (the default in netfabb)
Sorry for the bad picture quality. My cellphone can't handle close-up pictures of plastic and that's the only camera at hand at work.
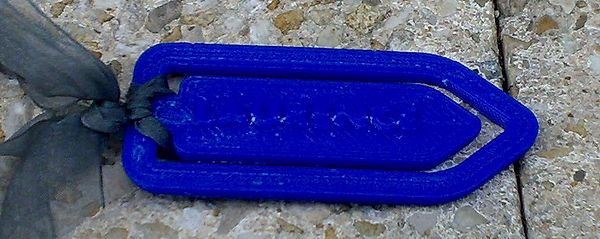
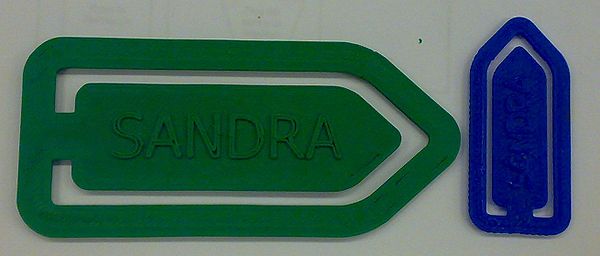
Here is a result for another girl:
The next picture shows a version that was way to fat (2 to 3 mm for clip is enough). The fat one can go to a keyring ...
The best results come from paperclips that are about 10cm long and about 3mm thick (without counting the letters). Make sure to print a hot and large lines raft !
Moving and aligning meshes
In order create a single model from several imported misplaced and mis-sized models, you need to dig into Meshlab commands first.
- By default, e.g. when MeshLab starts, you are in the so-called camera mode where the mouse actions are used to change the way in which you look at the model.
- When you use Interactive editing tools, the mouse actions are interpreted in a different way (e.g. for painting the mesh), but you can always switch back to the camera mode by pressing ESC; in this case the edinting tool is just suspended and you can go back to editing by pressing again ESC.
- To exit from an editing tool, you have to press again the toolbar button that started it.
Obviously for mac users, you should substitute the ctrl with the command key.
| left drag | Rotate the object. Click far from the center to rotate around the line of view. |
| ctrl+left drag | Pan (move right/left) |
| wheel | Zoom in or out |
| shift+left drag | Zoom (if you do not have a mouse wheel or if you want smooth zoom) |
| ctrl+shift+left drag | Light rotate, to interactively change the default light setting. |
| left double click | center and zoom on clicked point; subsequent rotations and zooms will be centered on the chosen point. E.g. if you want to rotate an mesh arount its center, double click in the center. |
| alt+left drag | Z translate; moves the camera along the viewing direction, (the effect can be similar to zoom, but it allows to more precisely navigate in the space around the object) |
| shift+wheel | change field of view and move the camera to keep the model of approximately the same dimension (in practice increase/decrease the perspective deformation, much alike the Hitchcock zoom depicted in the Vertigo movie). |
| ctrl+wheel | move near plane back and forth to section the object and reveal its interior. |
| alt+wheel | change point size when rendering mode is Points. Use Points rendering to display interactively huge meshes. |
Other useful key combinations for mesh inspecting are:
- ctrl+d toggle double sided lighting
- ctrl+k toggle backface culling
- ctrl+f toggle blue-red back=front lighting
With align tool enabled and one mesh selected, the selected mesh will change position, rotate, change size etc. using different commands
The Align tool:
- Click on the A - align tool
- In the Align tool popup window, select one of the Meshes
- Click on "Manual Rough Glue"
- Then use the key+mouse combinations below to change position, size and orientation
- Click on "Store transform".
In the align tool mode there are both camera mode and object move/resize commands. Note: You also could hit ESC to go to camera mode, and hit ESC again to come back.
| left drag | Rotate orbit around the current center of the object. Click far from the center to rotate around the line of view. |
| ctrl+left drag | Pan (move the object right/left with respect to the others |
| wheel | Zoom in/out the whole scene (camera mode) |
| middle drag | Pan the whole scene (camera mode) |
| ALT-middle drag | Rotate the whole scene (camera mode) |
| shift+left drag | Make the objects bigger/smaller in or out |
With one of the two selection tool enabled on can edit meshes. Click = click left button of the mouse
| click | Select all the faces in the direction (including the hidden ones behind) |
| ctrl+click | Add faces to selection |
| shift+click | Remove faces to selection |
| alt+click | Select only the front faces (without the hidden ones behind) |
| ctrl+alt+click | Add only the front faces (without the hidden ones behind) to selection |
| shift+alt+click | Remove only the front faces (without the hidden ones behind) to selection |
| wheel | Zoom |
| middle mouse button | Translate mesh |
| alt+ middle mouse button | Rotate mesh |
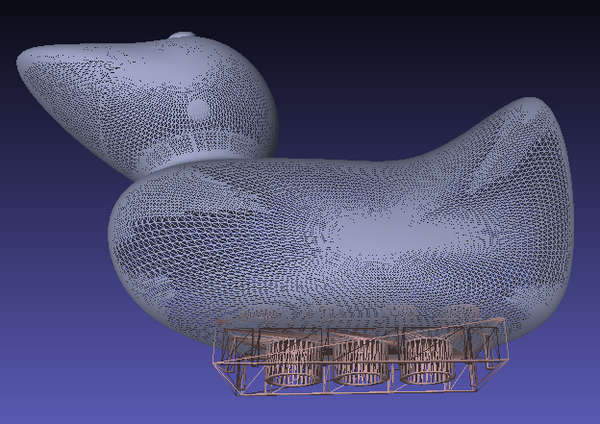
Example - create a Lego-compatible duck
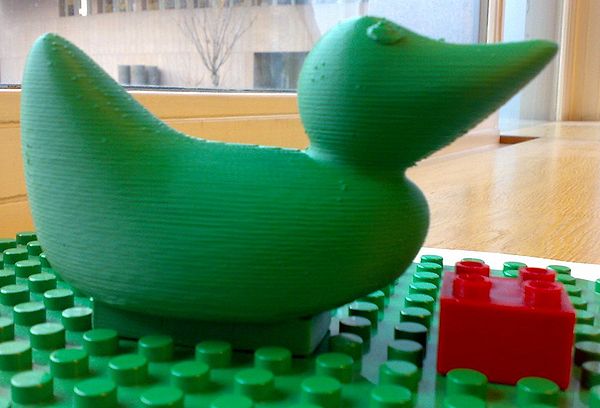
Warning: This will take many hours to print. Also overhangs are too strong at the bottom. Some filing needed...
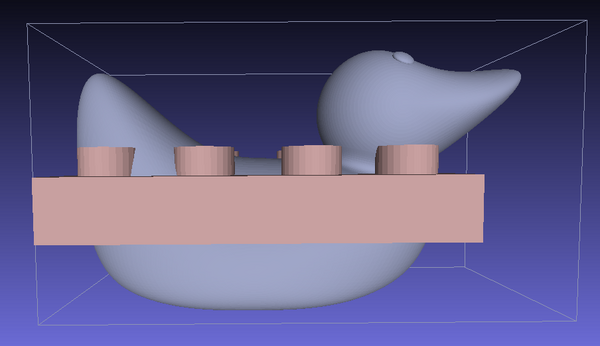
We use two ingredients:
Procedure:
- Open the Lego brick
- Open the duck as new layer
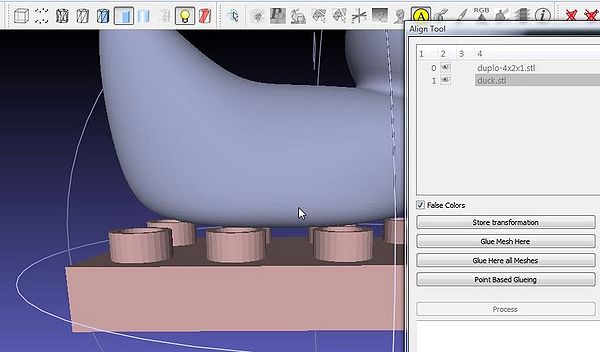
- Click on the align tool
- Click on Manual Rough Glue
- Make the duck bigger and align it with the commands explained above.
- Click on "store transformation"
- Then use the layer tool to merge the two layers as explained above
- In principle, one then could use Meshlab to improve the mesh, but I used netfabb for this (easier to understand)
- So just "save as" some *.STL
In netfabb:
- Align the duck to Z=0 !
- (keep its size or else it will not be DUPLO compatible)
- Repair it with the + tool
- Export part as .STL
Then import to skeinforge and print :)
Of course, an expert would simply the mesh, i.e. there is not need to have Lego structures be printed inside the duck, but then nobody will ever see what's inside ;)
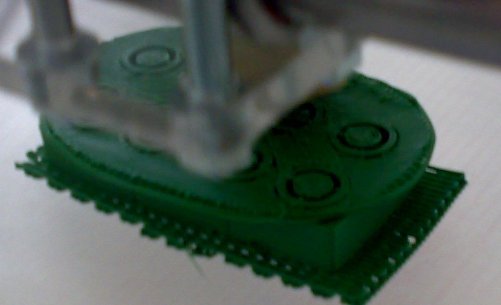
- Anyhow I know that I should "gut" the insides of the duck (i.e. the head of the duplo brick) with a 3D rubber ... sometimes soon if I find time. Right now it will print like this:
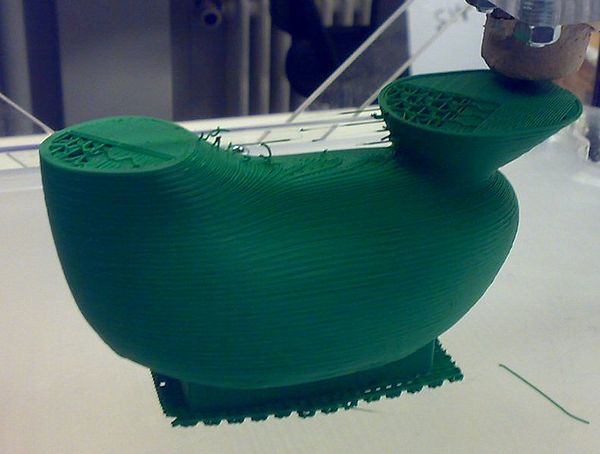
At some later stages of the print you would see:
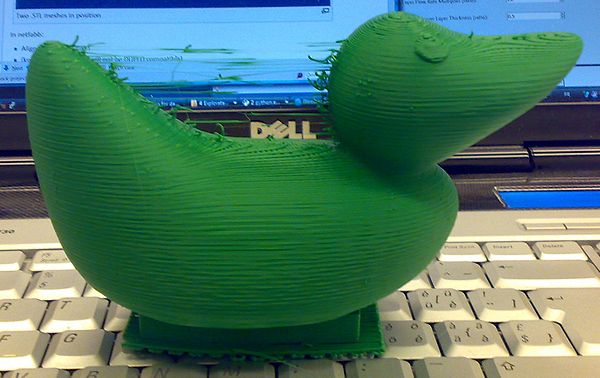
The final object is quite amazing. It took about 10 hours to print though. The only "bad" areas are underneath, where the overhang is really big.
And it can stand on a real DUPLO plate:
Example - DUPLO plus Pantherwoman
Now lets try again with the The Pink Panther Woman!!!! made by januario
This time I decided I had to rid of the caps. With Meshlab this is fairly simple:
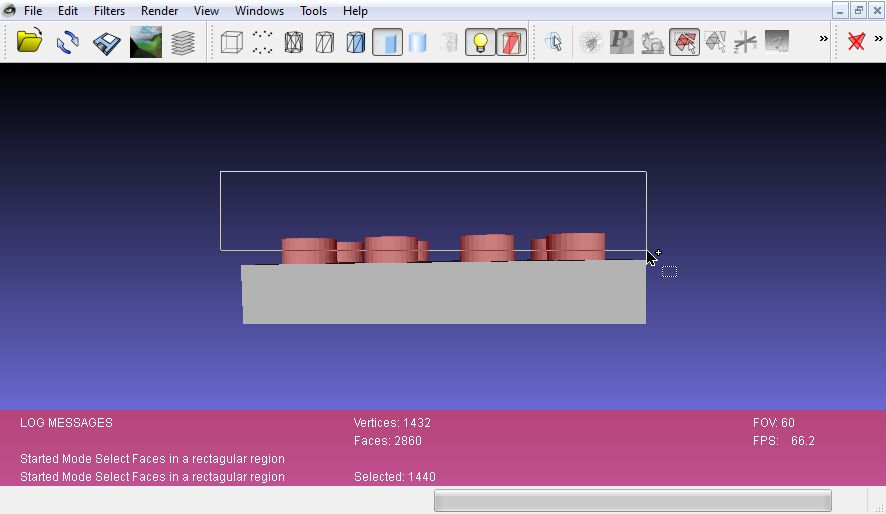
- Turn the DUPLO sideways so that you can see all the caps
- Click on "Select Faces in rectangular region" (make sure that they are all red and nothing else, you can hit ESC and turn the object, then hit ESC again)
- Then delete the current faces (second last button)
- Then go repair with NetLab (don't know how to do this with Meshlab yet)
Anyhow:
- This Duplo brick is available as source code for OpenScad and: “Commenting out the caps in the openscad file and recompiling/exporting would probably have be a easier way to remove the caps” (Domonoky).
- Even better: I downloaded OpenScad, added a forth parameter to the scade file, recompiled and saved it as .STL. You can get my modified version from Thingyverse.
Included is the scad file and 3 examples. All you need to do is to change a line on top of the file, e.g.
duplo(1,1,3,true);
or
duplo(2,2,1.5,false);
Then
- menu: Design-> Compile and render
- menu: Design-> Export as .STL
Read OpenScad beginners tutorial
A more powerful set of OpenScad scripts is available under the name of Doblo factory.
Back to our project. I created the duplo pink panther women with the procedure explained for the Duck (aligning with Meshlab and fixing the .STL with netfabb). I also used a different polymer. The Duck was in ABS ("Lego"-like plastic). This one uses PLA which is prettier and is printed at 205 degrees only.
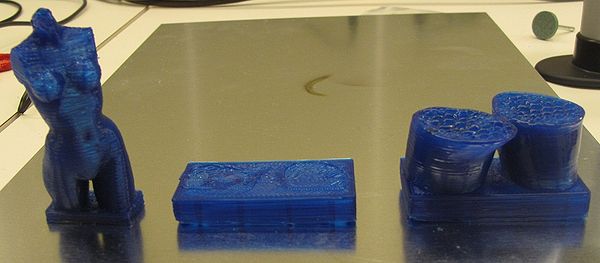
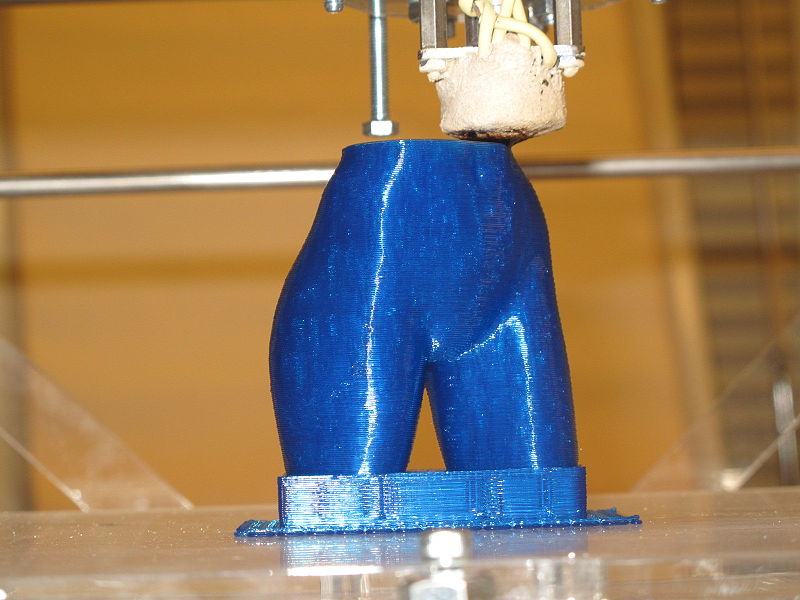
At the time of writing she is still being printed, but I got a half-sized version done:
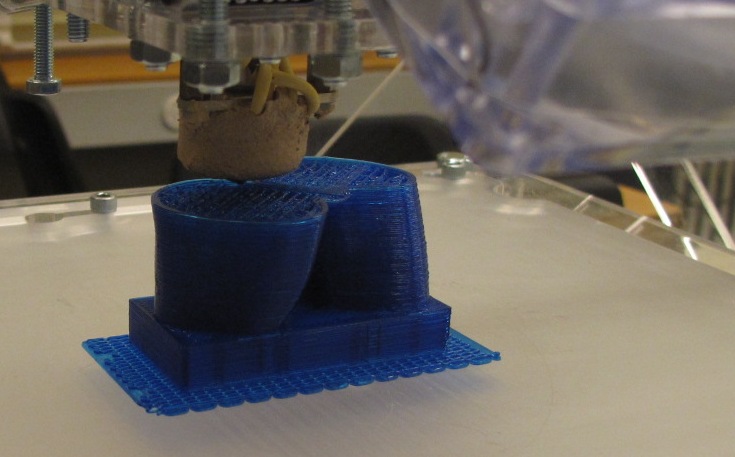
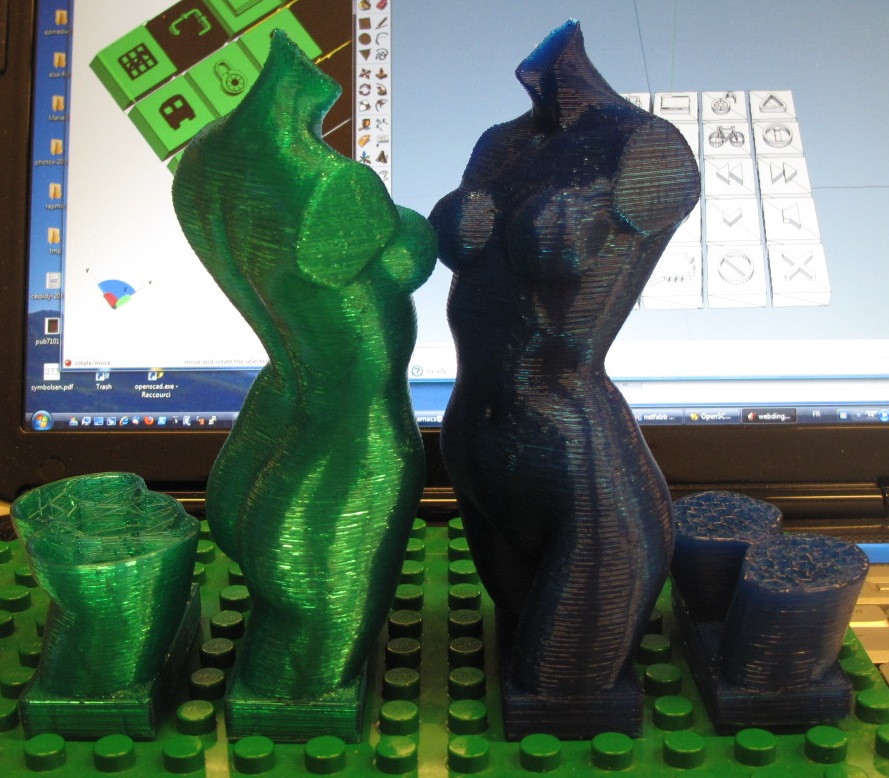
For RapMan printing. This object really needs a raft. Without it warped (the brick in the picture below) and worse the print head moved it (the unfinished one to the right).
I used an infill of 0.25 (means that about 0.25 of the inside is filled with honey combs. According to Bogdan Kecman this is way too much. I'll try a version with only 0.05 sometimes.
Here is the final result with two different types of printing parameters:
- Skeinforge parameters for green woman / blue woman
- Temperature: 205 all over
- Fill
- Infill: 0.25 / 0.05 (blue vs. green)
- Speed
- Flow rate: 400.0 / 380
- Feed rate: 16.0
- Cool
- Max cool: 2.0
- Min. layer time: 1.0
- Minimum Orbital Radius: 20.0
- Raft
- Base Lyer Thickness over Layer Thickness: 2.0 / 2.5
- Base Nozzle Lift over Base Layer Thickness 0.37
- Interface Layer Thickness over Layer Thickness: 1.5
- Raft Margin: 5.0
Links
Software needed
- MeshLab is the open source, portable, and extensible system for the processing and editing of unstructured 3D triangular meshes. Can import/export STL (for 3D printers like the RapMan))
- Netfabb “is a software tailored for additive fabrication, rapid prototyping and 3D printing. It includes the ability of viewing, editing, repairing and analyzing stl-files or slice-based files in various formats.” Base version is free.
- Sketchup (optional)
Moving on
- Find more printable objects: 3D assets
