Autodesk 123
Introduction
Autodesk 123 refers to a family of 3D tools available through various platforms
- 123D Catch: Turn a series of photos into 3D models. Read Autodesk 123D Catch for a short description of an early version.
- 123D Creature: Create and 3D print fantastic creatures and character models.
- 123D Design: 3D modeling software (Mac/PC, iPad, and Web)
- 123D Make: Create tangible, DIY objects from 3D models. (iPad, iPhone, PC/MAc/ online)
- 123D Sculpt: Shape, form, sculpt and paint 3D models (iPad only)
In 2011, Autodesk first launched the modeling tool, i.e. a end-user friendly Computer-aided design and manufacturing (CAD) software. It was called Autodesk® 123D™ or 123D. As of March 2013, the renamed "123D Design" program still seems to be free. Download is about 450MB and the software probably requires a good 3D accelerator. (It runs smoothly on my Precision CAD laptop).
If you read french, you can consult a tutorial we started in the french wiki: Autodesk 123D Beta 9
Autodesk 123 app
Is available either through a web browser or IOS (?)
The Interface of Autodesk 123 Design (PC version)
Warning: Screenshots and information below refers to an old Beta version !
The interface first time
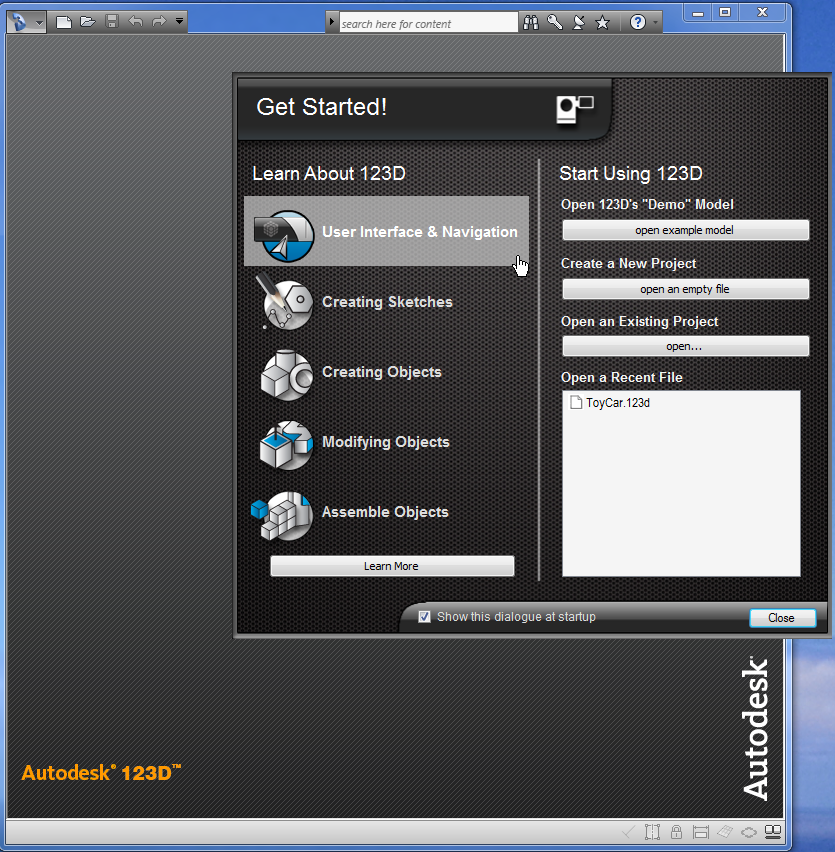
When you launch the program, you will see a (position frozen) Getting started screen. Depending on the version installed it may be different.
(10-page tutorial shown)
(After closing the 10-page tutorial)
Each of the five "Learn About 123D" items open a Flash video. These movies are pretty much ok, but no voice and therefore require the user to focus a bit and maybe to replay once or twice.
Interface structure
The Interface is kept simple and modern, i.e. various buttons have pop-up radial menus and other controls.
There are three main elements
- The floating tool bar (on top the first time) includes all the major drawing tools
- The navigation bar (bottom by default) includes all sorts of navigation and viewing tools. With the little pull-down menu (bottom right), it can be linked to the viewing" cube that sits top left by default.
- On top left is on object browser allowing to inspect each object on the stage.

