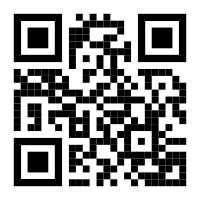
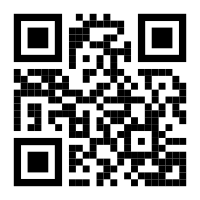
InkStitch - QR code embroidery
Jump to navigation
Jump to search
Introduction
Stitching low resolution QR codes (and similar) is fairly easy, i.e. feasible if you do not plan to pack too much information into a code.
Creating a simple InkStitch QR code
(draft)
Create the QR code
There are many online and offline tools to create QR Codes
We will use the free qrcode-monkey service. I allows:
- creating qr codes in various resolutions
- addding a picture
- exporting in SVG !
The following screenshot shows the four steps required to produce a QR code image using default styles.
- Enter the contents of tag, i.e. the URL in our case
- Set the resolution. Make it low because the resolution of embroidery is not very good.
- Click "Create QR Code"
- Click SVG to export.
Create SVG embroidery
Code produced by QR Code Monkey has the following structure
- A single group on top
- Nested groups with mostly SVG rectangles inside. Only the three big rectangles are path objects.
You now will have to make a few changes in the SVG file. We will describe the steps below.
(1) Optimize SVG
- First, save the file as optimized SVG (Menu File -> Save as ; Select "Optimized SVG). I noticed some strange code in the SVG and when I tried to ungroup the first time, Inkscape hung.
- Reopen the file (?)
(2) Ungroup all
- Select all
- Ungroup (CTRL-SHIFT-G) at least three times. If Inkscape hangs, try
- Create a layer (Menu Layer -> Add Layer)
- Move all the objects into this layer (Select All, Menu Layer->Move Selected to Layer)
(3) Transform all objects to SVG paths
- Select all objects and transform to path (Menu Path -> Object to Path). This can take a while
(3) Fill the objects with a color
- Select All
- Remove stroke
- Define a fill
(3) Remove three extra rectangles that are not needed
- The three big rectangles are made of three rectangles, one of which defined the white space. Just kill it.
Result
(not stitched yet, but in principle it should work)


