Stitch Era - digitizing a portrait photograph
Introduction
This beginner's tutorial for the Stitch Era embroidery software expands on Stitch Era - creating embroidery from raster images and Stitch Era - digitizing complex bitmap images
- Tutorial home page
- Stitch Era embroidery software
- Learning goals
- Be able to import vector graphics or bitmap files
- Be able to vectorize a bitmap file, i.e. turn it into a vector graphic
- Be able to digitize a vector graphic
- Prerequisites
- Stitch Era embroidery software (in particular be able to create a new design).
- Related pages
- none
- Materials
- You can reuse the pictures. In the wiki, click on picture to make it larger, then click again and save it.
- Quality and level
- This text should technical people get going with Stitch Era. I use it for an optional master degree course in educational technology.
- Last major update
- September 2011. Since then some features e.g. file import was improved. Also the menu organization did change somewhat. We will try to fix this in some near future - Daniel K. Schneider (talk) 15:59, 17 August 2017 (CEST)
- Next steps
- Stitch Era - adjusting stitch sections explains how to change parameters embroidery sections, e.g. stitch density, fill patterns, etc. after and auto-digitizing procedure.
- Stitch Era - creating embroidery from raster images. Create embroidery from simple and relatively clean raster images (e.g. *.png or *.jpg files)
- Stitch Era - vector graphics. You don't necessarily need to learn how to draw vector graphics that you then can convert to embroidery (stitch sections). However, you will be able to speed up your work and you also could reuse principles (e.g. Bezier drawing) for manipulating stitch sections as well as in other multi-media programs.
Digitizing images is very difficult. Digitzing portrait images is a bit easier that digitizing landscapes. The basic principle is:
- Reduce the size of the picture to the size of the picture you want to stich or less, e.g. 1000px (equivalent of 10cm in Stitch Era)
- Modify contrast, saturation and luminosity so that the person's feature stand out best.
- Reduce to 16 to 20 colors, then union the colors
- Vectorize with some hole filling and smoothing values
- Remove holes from vector objects and union little vectors
Reduce the picture size
Before importing to Stitch Era, reduce the picture to a reasonable size, e.g. 1000px width. 100px will be shown as 1cm in Stitch Era which is not the standard conversion rate on a low resolution screen.
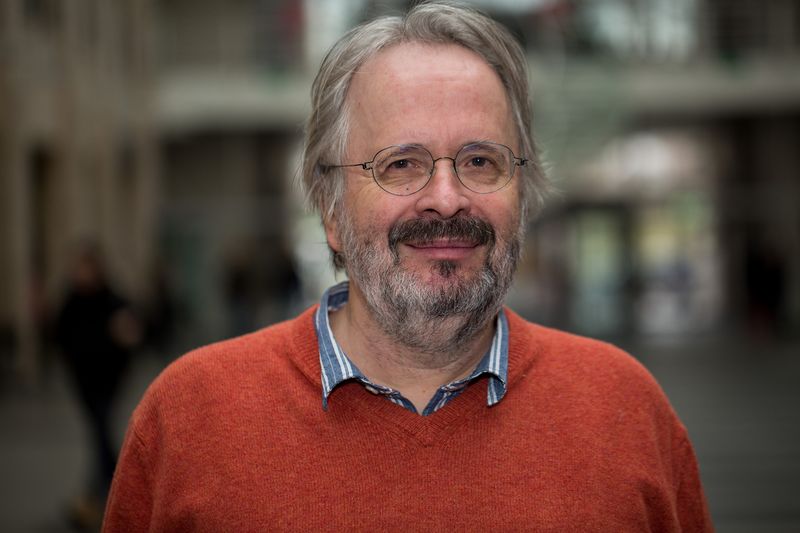
We shall start with picture of myself since I do not want to be sued by angry people not liking their embroidery version....
Import the picture to Stitch Era (<code>ARTWORK</code> -> <code>Open Image</code>). As you can see it will be adjusted to a size of 15cm x 10cm.
