Stitch Era - adjusting stitch sections
Introduction
This is a beginner's tutorial for the Stitch Era embroidery software. It explains how to adjust auto-digitized embroidery.
Disclaimer: Made by someone who started about embroidery and digitizing in May 2011. I will revise this once I understand more - Daniel K. Schneider 11:00, 9 June 2011 (CEST).
Stitch Era by default creates certain kinds of fill patterns that you my want to change for some stitch sections. Let's examine two situations:
- Some zig-zag stitches are too long
- Some areas shouldn't be filled since they are too big
Note: Professional digitizers seem to prefer converting manually each vector to a stitch section or even individual stitches.
Types of fills
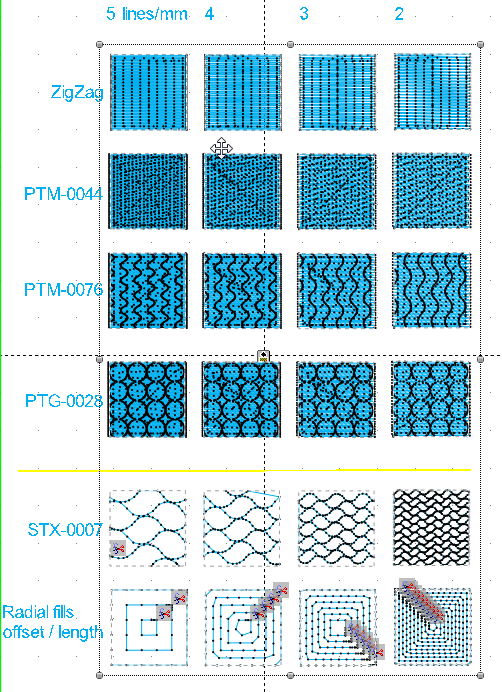
Stitch Era allows to fill stitch sections in different ways. The following screen captures show three types:
- Zig-zag stitches (line 1)
- Fill patterns (lines 2-4)
- Fill textures (line 5)
- Radial fills (last line)
In each line we modified parameters a bit
- For the Zig-Zag and the patterns (four first lines), density changes from 5 lines/mm (bullet proof) to 2 lines/mm (transparent)
- For the texture, we changed vertical and horizontal density
- For the radial fills, we changed both offset (distance between radials) and stitch length
Underlay stitches are stable and the same for all fill patterns
Converting zig-zag areas to fills
The following example shows are rather large Mediawiki logo. Both the "M" and the "W" had to long stitches, i.e. would produce a somewhat fragile design.
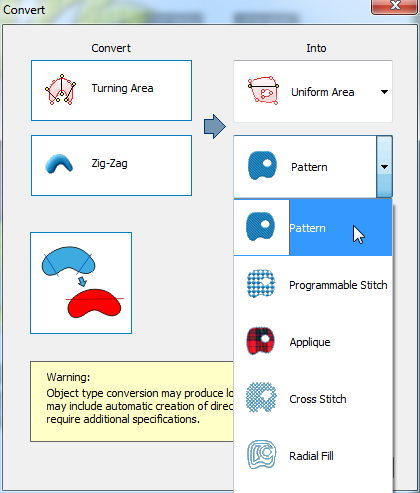
By selecting the area (either by clicking on the area) or by selecting it in the object manager (sometimes this is the only way to get the right section) you then can click on the Area Fill pull down menu (underneath the kind of pattern you use) and change it as shown in the following screen captures.
Reducing fill density
For larger areas or if you want to insure confortable wear, we suggest to reduce fill density.
- By default, Stitch Era uses about 5 lines/mm which is a dense setting.
- 3 lines/mm may not be as pretty since there will be some holes, but it will produce a more weareable design.
- A good compromise are 4 lines/mm (this is the default in some other embroidery software we believe)
In addition:
- density also should be adjusted to thread thickness. By default, we are using Rayon 40, a medium standard weight.
- density has a different effect on different stitch patterns.
The following picture shows a design that uses 5 lines/mm to the left. In addition the tips of the sun flower petals are stitched double. The design to the right uses mostly 3 lines/mm, except for sun flower zig zag that uses 4.
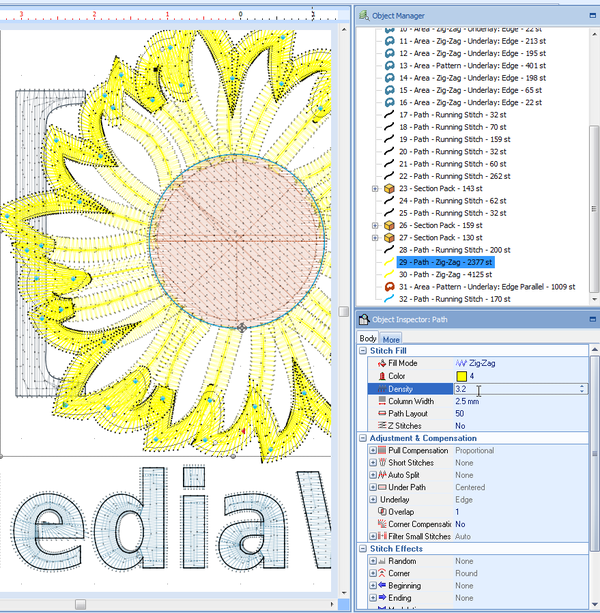
In order to change density in selected areas, it is best to use the Object manager (to the right) as the following picture shows:
Finally, if you print something on top of another area, make sure to remove the underlay. I don't see any reason to have one.
Using programmable stitches and radial fills
After printing a larger design you may find that despite using underlay, there is pull effect. Or you may not like the heavyness of a larger design. There are several options for dealing with this:
- Skip some parts (just delete the areas or pathes) ... may produces interesting effects on some designs. Note that you also may have unintentionally several layers of stitches on top of each other. Your machine will make noise and the thread may break if that happens. In that case, you certainly should remove areas or better redesign at the vector drawing level for example.
- Change the fill pattern to programmable stiches or radial fills that have big holes. We will look at this situation.
- In addition or alternatively you could change the density, e.g. use only 3 lines/mm instead of 5 (see just above)
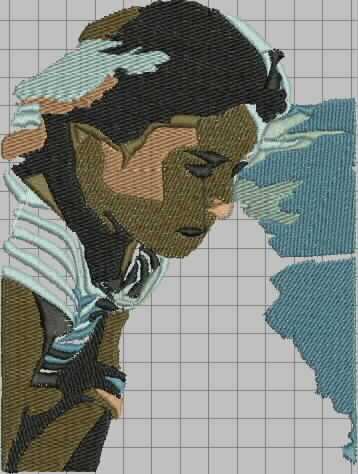
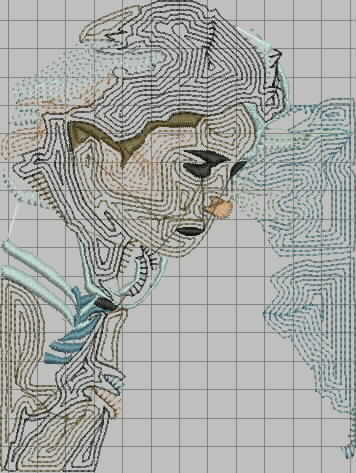
Below is a picture of a digitized design that probably would be difficult to print since it's fairly large.
By removing both areas and by changing most remaining areas into radial fills, we sort of get an interesting result that (almost) can be printed on a T-shirt without underlay.
Below is the result, it was stitched without underlay, just paying attention to proper hooping.
