InkStitch - embroidery patch
Introduction
Creating a patch with only an embroidery machine is feasible, but requires a little bit of precision work.
Creating patches is explained in general terms in the Embroidery patch article. Here, we just summarize one method
Prepare the fabric
- Cut out some fabric of the size of the badge. You can print out a paper version of the design and use it as model.
We use our Trotec Speedy 100R 50Mw laser cutter with settings: power=23, speed=1.9 and Hz=1000. Since the fabric may warp consider weighting down the borders, e.g. with pieces of lead.
Hooping
- Hoop a self-adhesive tear-away stabilizer, sticky side up.
- Consider using two layers to add some extra stability
Yes. Do not attach the stabilizer to the fabric.
Place the fabric
- Stitch a placement stitch (cut line) that has the size of the patch.
- Remove the hoop
- Stick the precut fabric inside/on top of the cut line. (If you don't have a sticky stabilizer, glue the fabric)
- Put the hoop back
Tack down and stitch the border
- Stitch an optional tackdown stitch followed by a zig-zag border first.
Stitch the rest
Then stitch the rest of the embroidery.
Reuse the stabilizer in the hoop
- Carefully remove the patch. It should "come off" very easily.
You now can just stick a piece of stabilizer on top of the round hole (sticky side up!) and start again without re-hooping.
If this is well done this will last for at least 10 patches.
It is probably best not to stitch a background color. Otherwise you will have to manage a pull/push effect and also make sure that the overlap between border and background looks good. The zigzag stitch should come first in order to make sure that it is correctly placed along the borders. Instead, use specialized fabrics for batches that look good, e.g. Twilly or Step from Gunold.
Templates
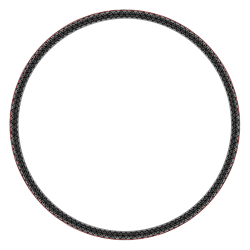
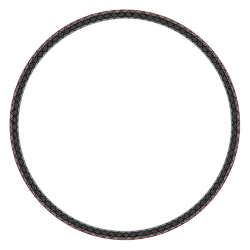
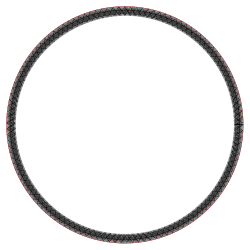
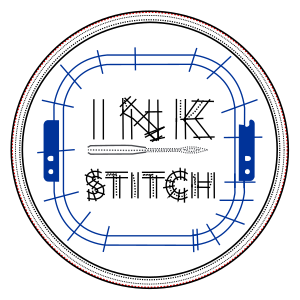
Below are two 6.1cm templates with rather narrow zigzag borders and a 8cm one. You will have to put something inside
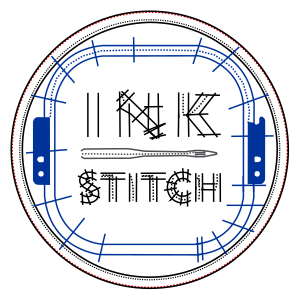
InkStitch example
Version 1
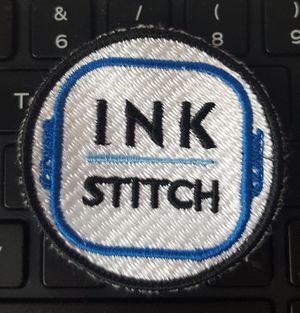
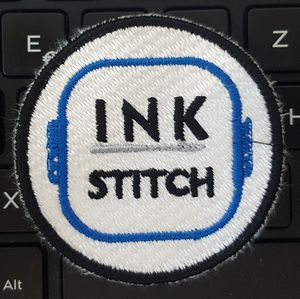
This design has quite a lot of pull. One probably could make the blue frame a bit smaller and use less density. The border may have to be improved (less underlay) and the placement stitch made a bit bigger. The hooping probably wasn't perfect. We should have used two layers of stabilizer.


