InkStitch - Geneva-simple typefaces: Difference between revisions
| Line 54: | Line 54: | ||
[[file:inkscape-stroke-break-to-path.png|600px|none|thumb|1-Stroke-based R - Broken R - Stroke-to-Path broken R]] | [[file:inkscape-stroke-break-to-path.png|600px|none|thumb|1-Stroke-based R - Broken R - Stroke-to-Path broken R]] | ||
=== Fix each letter | === Fix each letter === | ||
For each glyph, there will be two major tasks | |||
* Remove excessive overlaps | |||
* Make sure that each sub object is made of two subpath | |||
For each letter that has major overlaps, delete segments of overlapping path | For each letter that has major overlaps, delete segments of overlapping path | ||
| Line 64: | Line 68: | ||
You also can recombine some path. | You also can recombine some path. | ||
| Line 76: | Line 76: | ||
* Verify directions of subpath | * Verify directions of subpath | ||
* Add rungs | * Add rungs | ||
* Remove Fill | |||
* Set Stroke Paint | |||
* Set Stroke Width to 0.1mm | |||
=== Using Illustrator === | |||
One could import the SVG file to illustrator. Its pathfinder tool can remove all major overlaps (or is there a way to do it in Inkscape ?). Save as SVG in Illustrator and repopen it in InkScape | |||
== A simple fill font == | == A simple fill font == | ||
Revision as of 15:59, 30 June 2018
This page describes how we created a simple Hershey font.
Planned procedure:
Creation of a rounded satin font
Creating an embroidery font by hand is a fairly complex endeavour. However, starting from so-called Hershey font is much simpler since they are made of strokes.
In InkScape, Hershey fonts are available through the Extensions -> Render menu. We will use the simple Sans 1-stroke' font.
Configure a 1 stroke font
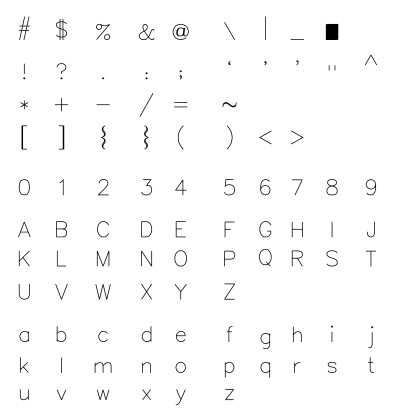
Create a Hershey glyph table
- Menu Extension -> Render -> Hershey Text
- Change Action to "Write glyph table"
- Font face: Sans 1-stroke
Adjust the size and arrangement
- Select all
- Set total width to 210mm. This creates glyphs that are about 8mm high, i.e. good fonts to use with embroidery patches.
- Delete all the doubles
- Arrange the glyphs in the table
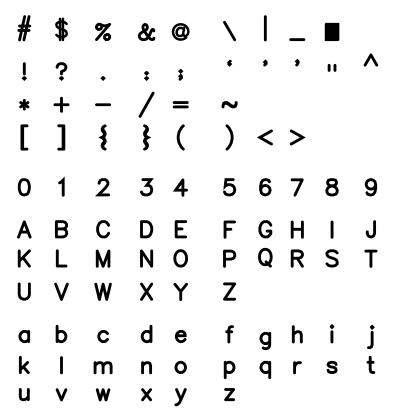
Change stroke width and type
- Select All
- Set Stroke Width to 1.5mm
- Set Cap to round (easier to deal with than rectangular strokes)
- Verify shapes, smooth some (I fixed $, @, &, 0, O, Q4 and make strokes smaller ($, @).
Transform the stroke-based fonts into path
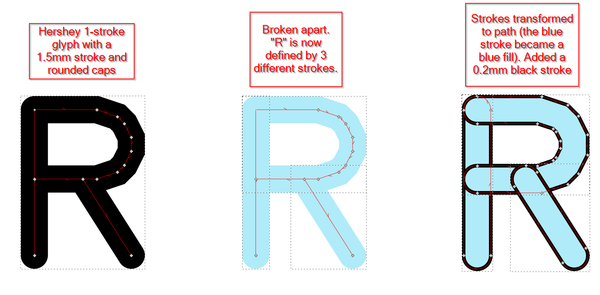
Break glyphs into several path
- Select all
- Change the stroke color to light blue (because this way you can more easily see what is going on in the next steps)
- Menu Path -> Break apart
Some letters are now composed of several path
Transform the strokes to paths
- Select all
- Menu Path -> Stroke to Path
You now should have Glyphs with Paths. These for the moment just have fills.
- Select all
- Add a black stroke, make it about 0.2mm
Fix each letter
For each glyph, there will be two major tasks
- Remove excessive overlaps
- Make sure that each sub object is made of two subpath
For each letter that has major overlaps, delete segments of overlapping path
- Select the letter with a rectangle
- Optionally give different colors to different segments
- Hit F2 (Edit Path tool)
- Select segments in the tips of some path and kill them.
You also can recombine some path.
- Group all objects into one glyph group
- Create two subpath
- Verify directions of subpath
- Add rungs
- Remove Fill
- Set Stroke Paint
- Set Stroke Width to 0.1mm
Using Illustrator
One could import the SVG file to illustrator. Its pathfinder tool can remove all major overlaps (or is there a way to do it in Inkscape ?). Save as SVG in Illustrator and repopen it in InkScape
A simple fill font
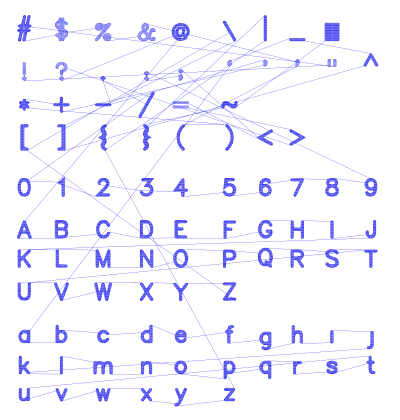
After the first step explained in the above chapter, simply create a path (before breaking up the glyphs !)
- Break apart symbols that have unconnected polygones, e.g. !, ? ;
- Menu Path: Stroke to path
- Set the fill
- Remove the stroke
In Extensions -> Embroidery -> Params
- Augment the density, e.g 0.2
- Add an underlay
We had to fix some caracters, i.g. remove or union some little garbage and also give some special treatment to the $ and & signs.
You can download the following SVG file (click until you get the SVG then save the page as). Open the file in InkScape and copy/paste the fonts. Make sure to hide the embroidery layer, and to "rectangle" select since we did not do any grouping...


